How to compress a video file without losing quality a commonly asked question on the internet and everyone want to know how it is possible, that a large video size can be compressed into low size without losing its quality.
Many times our video size got very large and we need to upload on youtube, Facebook, or even sharing through dropbox, or google drive over the internet, and for the sake, you have to upload but your internet connection very slow you may face trouble. In the case of over GBs file, it will take much time and more complicated.
So in this article, we will learn how to compress a video file but we don’t want to lose video quality in any case. Here we will use a small and free tool that will help you to concise your video without losing quality. So let get started.
Now first of all we will download a free tool named “Handbrake” easily available on google. This is open-source so anyone can download it free.
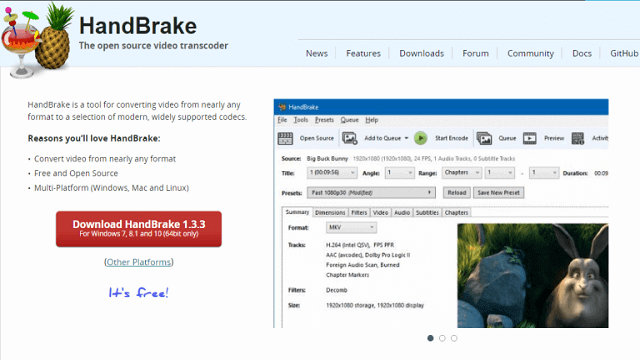
Go on Google Type “Handbrake” and hit Enter you will find the first official link of the handbrake tool. just click on it you will be in showing flowing picture
just download it and install it into your system.


After installing the tool we will make some presets which are highly recommended to you that must be applied. but before that just open your tool and you will see the interface of this tool like showing in the picture.
Now drop your desired video to compress its size.


after dropping your video you will see a screen like this showing in the below picture. here we need to set some preset which is highly recommended. these presets will help to maintain video quality when compressing your file into a small size.


Now Click on Video as showing in below snaps.


Now at the end again click on Summary showing boxes in below snap
you may ad this custom setting for future use by clicking on the add button showing in number 3. and named it is on your choice.
now at lats click on Start Encode button showing in box 3.


Now your video will start compressing its size without losing quality. As it is very deeply processed to compress the large file to a small size so this will take some time to be completed. have patient.
after completion must compare both files and video quality it will be really awesome. I have experienced it.
I hope you will enjoy this article. your comments will make me happy and encourage me to write more useful articles like that thanks with best regards.


